
Make Your Own Clothes: Essential Tips and Sewing Basics for Beginners
Have you been in awe of a friend in a handmade garment or wondered how to create a wardrobe that’s just your style? Or maybe you’ve scrolled through the Spoonflower’s Design Library, dreaming about making a one-of-a-kind shirt with your favorite surface patterns. Making your own clothes is a superpower, and this post will show you how to harness that power. Former Spoonflower member Amy Hoppe shares what she’s learned from making her own clothes. Read on for helpful beginner advice that will get you sewing in no time flat!
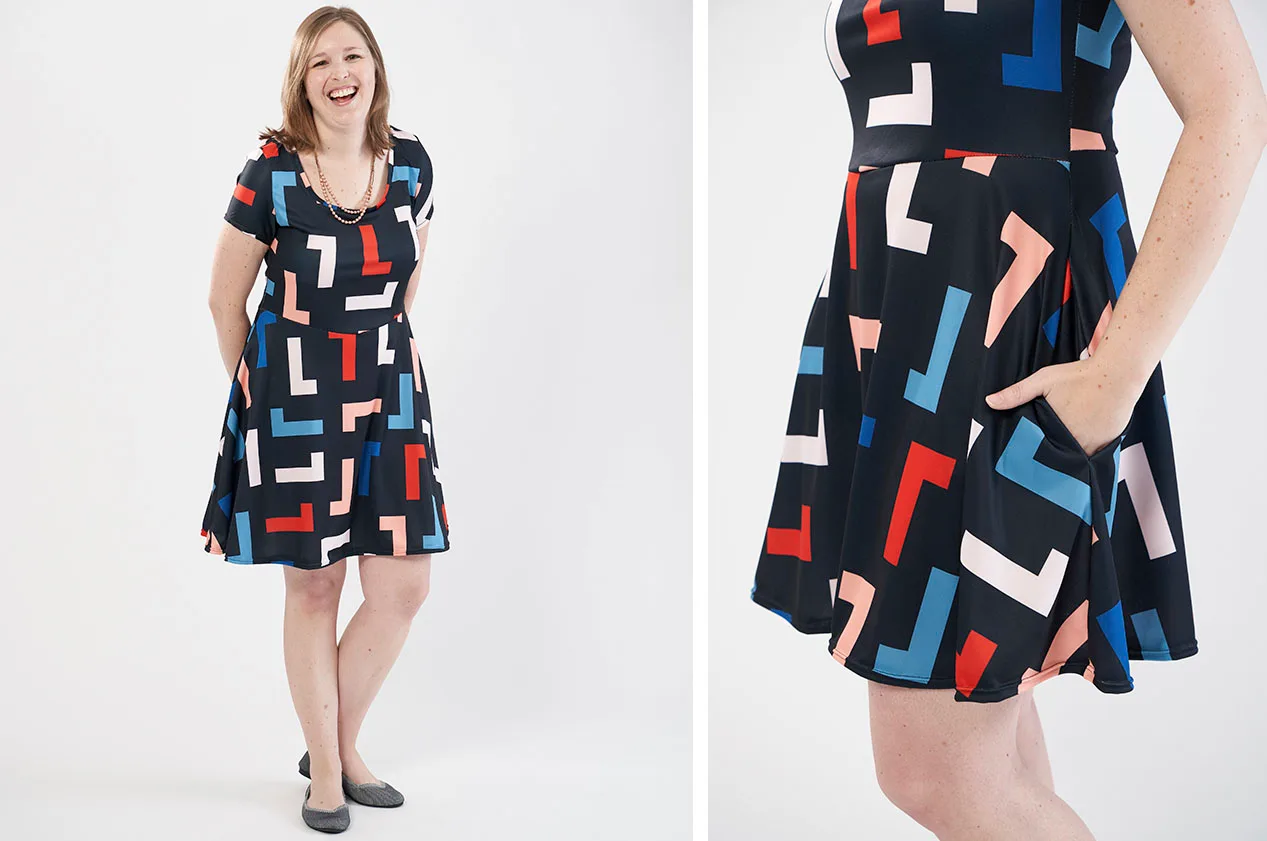
Tips and Tools To Start Sewing Your Own Clothes
1. Find the right sewing machine
Both Singer and Brother make entry-level machines that work well for sewing a variety of projects. The Singer 4423 Heavy Duty Sewing Machine is very popular amongst Spoonflower employees, especially those new to sewing. Want to be sure you know the difference between your tension adjuster and stitch width adjustment dials? Or want to know more about what they do? Check out our Anatomy of a Sewing Machine Diagram within our Ultimate Sewing Guide post to get to know the lingo!2. Find a beginner-friendly sewing pattern
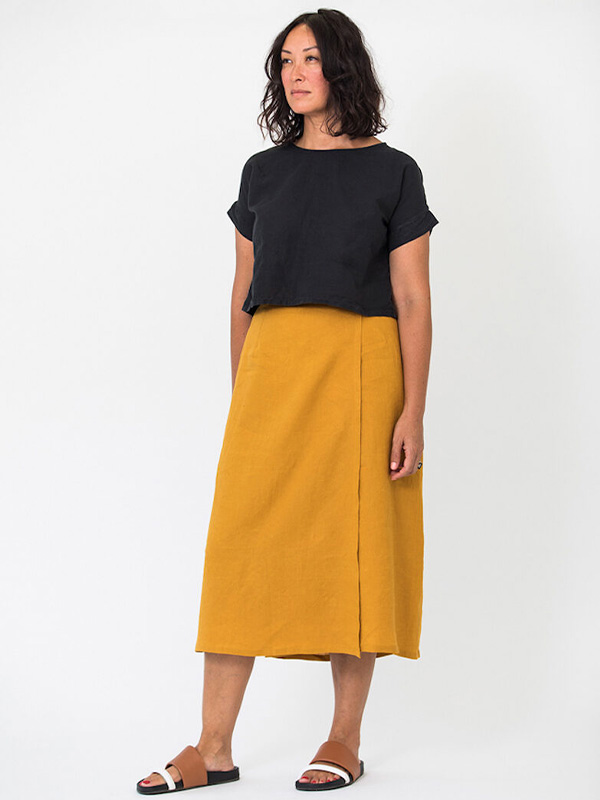
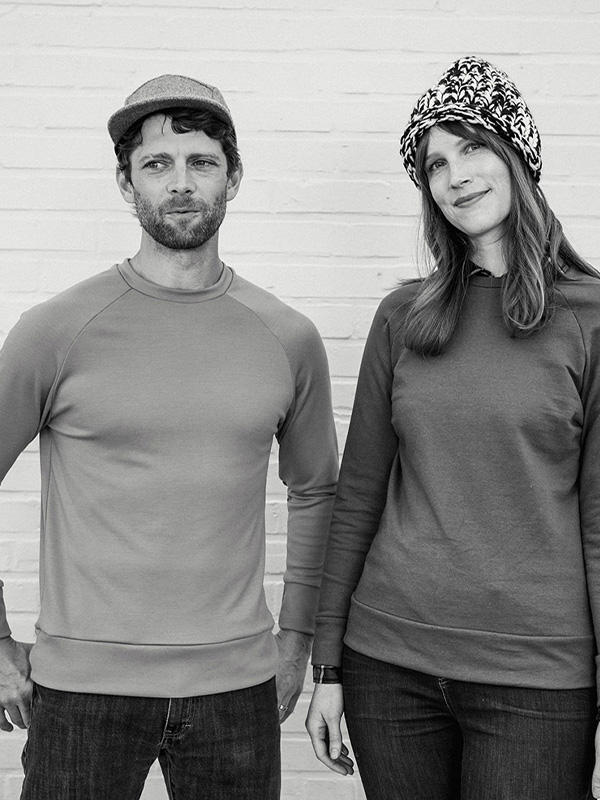
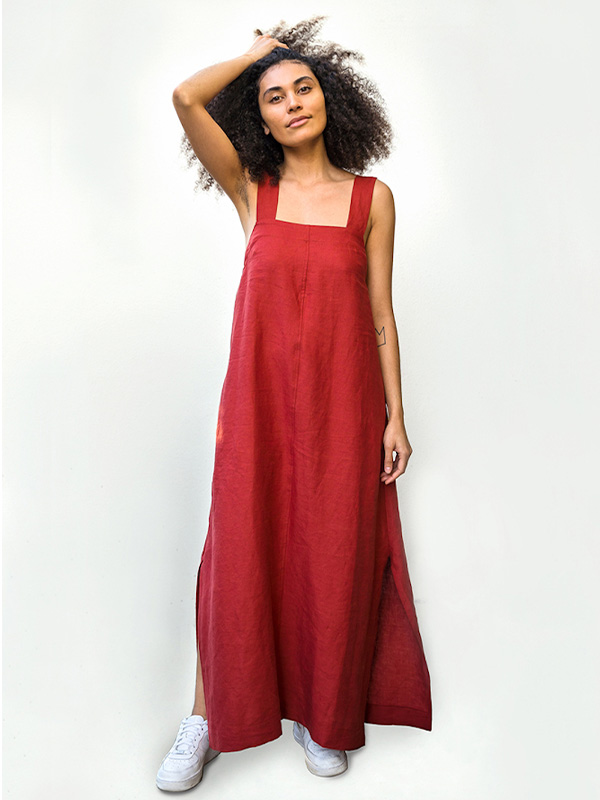
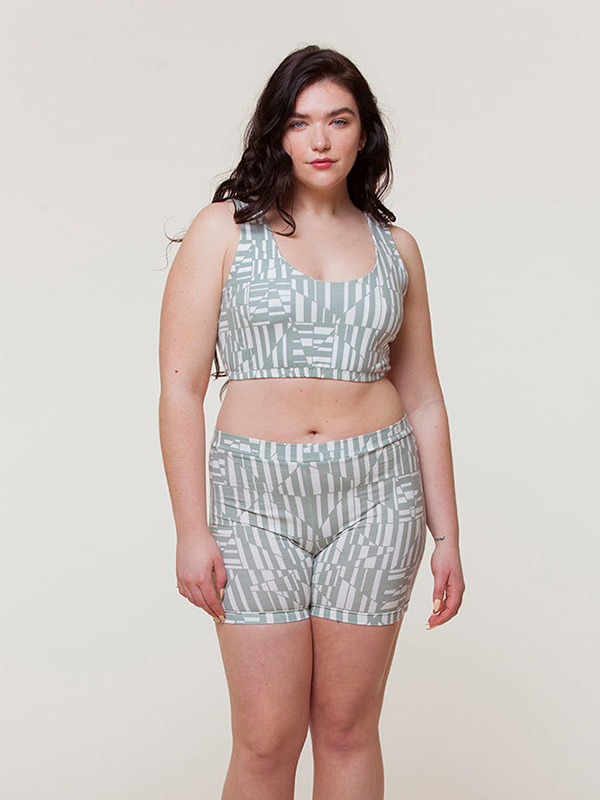
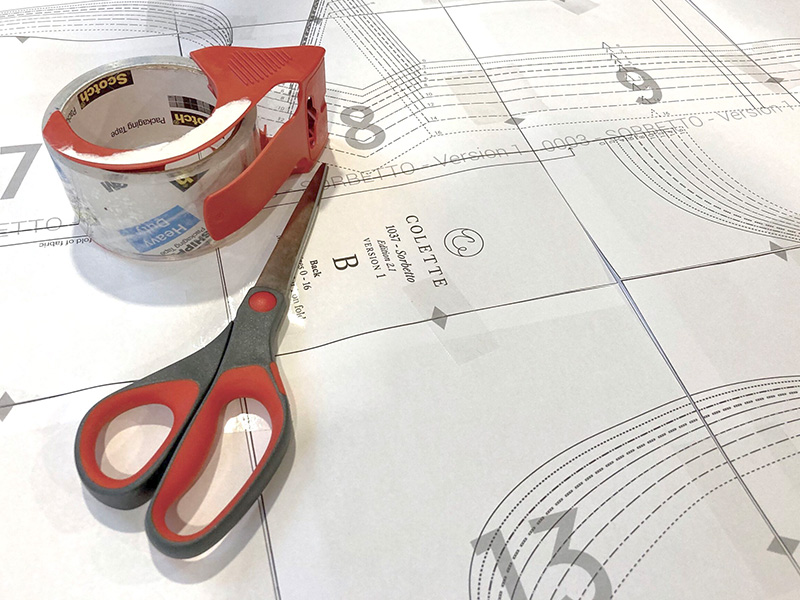
Now that your machine is ready to go, what should you sew first? You could get a feel for your machine by hemming a pair of pants or refreshing a treasured t-shirt with our raglan tee tutorial. You can also jump right in and learn to make your own clothes from scratch with several beginner-friendly sewing tutorials on our blog.- Sewing Tutorials
- Tutorials
- Free Sewing Patterns
- Handmade Apparel
- Sewing Tutorials
- Tutorials
- DIY Projects
- Free Sewing Patterns
- Sewing Tutorials
- Tutorials
3. Choose the right fabric for your clothing project
Spoonflower has 25+ fabric types. It’s smart to start with a few swatches of any design on any fabric type, so you can see it and feel it in real life. Here are three fabric types we suggest you start with:- REPREVE® Recycled Canvas – This fabric is easy to sew and durable. It makes great tote bags, chef aprons and pillows.
- Organic Cotton Sateen – This fabric is easy to use for first-time sewists. It’s lightweight and comfortable with a smooth sheen.
- Modern Jersey – This “forgiving to sew with” fabric is stretchy and ideal to create tops, dresses and accessories.
- Community
- Inspiration
- Spoonflower Ambassadors
- Handmade Apparel
- Inspiration
- Handmade Apparel
- Inspiration
- Spoonflower 101
4. Gather your other sewing supplies
- **Needle and thread – **This will vary depending on your fabric choice, but our help center will help you make your decision!
- **Seam ripper – **We all make mistakes, especially when first starting out, but careful seam ripping will help you undo any wonky stitches.
- **Fabric scissors or rotary blade – **A pair that is specifically designed for (and exclusively used for) fabric is an important addition to your tool kit.
- **Iron – **Other than your sewing machine, an iron will be your best sewing friend! Pressing your seams will make sewing easier while ensuring accuracy and a polished final look.
- **Pins or sewing clips – **To get the right fit and precision, pins are used to attach pieces of fabric together and keep them together for sewing. Sewing clips are a nice alternative.
- **Bonus: **As your projects become more complex your sewing pattern may call for additional elements like bias tape, buttons, and elastic. YouTube is a great resource to see a play-by-play of how to best level up your sewing game with new-to-you additions and skills.
Useful Sewing Terms
After you’ve selected the sewing pattern you’d like to start with, it’s a good idea to take the time to read through all of the instructions. Google and YouTube are your friends as you research any terminology or techniques that are new to you. To start, here are the 10 terms I found helpful to know when I began my sewing journey. My top 10 list is only a start, but as you keep creating, your personal sewing dictionary will expand naturally as you learn.- **Backstitch – **Every line you stitch with your machine should start and end with a backstitch! Begin with a couple of stitches and then secure those stitches by hitting the backstitch button to stitch over them.
- **Baste – **These are long stitches that can be done by hand just to hold pieces of fabric together temporarily and then they are removed.
- **Cut-on-fold – **Wherever you see this on a pattern, the pattern piece is only half of the full piece you will cut out. If you fold your fabric and place the pattern piece on the fold where it indicates and cut the fabric together, you will get one full piece that is perfectly symmetrical.
- **Hem – **A hem is the finished edge of your garment like on the end of a sleeve or a pant leg. The most common kind is a double-fold hem, where the edges of the fabric are folded over each other twice to hide the raw edge.
- **Mock-up, muslin or toile – **All of these words could describe a kind of prototype for your garment and will help you test the pattern with scrap fabric first, so they can make any amendments the second time around.
- **Notch – **The notches on a sewing pattern are usually small marks like a line or a triangle shape that will help you match up the pattern pieces when assembling your garment. Notches can also be the wedges cut into the seam allowance of a curved seam to reduce bulk. Clipping is also an option depending on if the curve is concave or convex.
- **Right & wrong side – **The right side of your fabric is the printed side and the wrong is the other side that will be on the inside of your garment. This will be noted in your sewing pattern’s diagrams.
- **Seam & seam allowance – **A seam refers to the stitched line. The allowance is the space between the stitched line and the fabric edge. Sewing patterns will account for seam allowance and the standard allowance is typically 5/8″ (1.6 cm).
- **Selvage – **This refers to the tightly woven (often white) edge that runs along each side of a piece of fabric to prevent unraveling or fraying.
- **Topstitch – **This stitch was designed to be seen on the outside. Topstitching can be used decoratively to define and add detail, or functionally by providing an extra hold.
Frequently Asked Questions
How can I start sewing my own clothes?
You can start sewing your own clothes by finding the right sewing machine, choosing a sewing pattern, finding the right fabric for your pattern and gathering your other needed supplies.Is sewing your own clothes beginner-friendly?
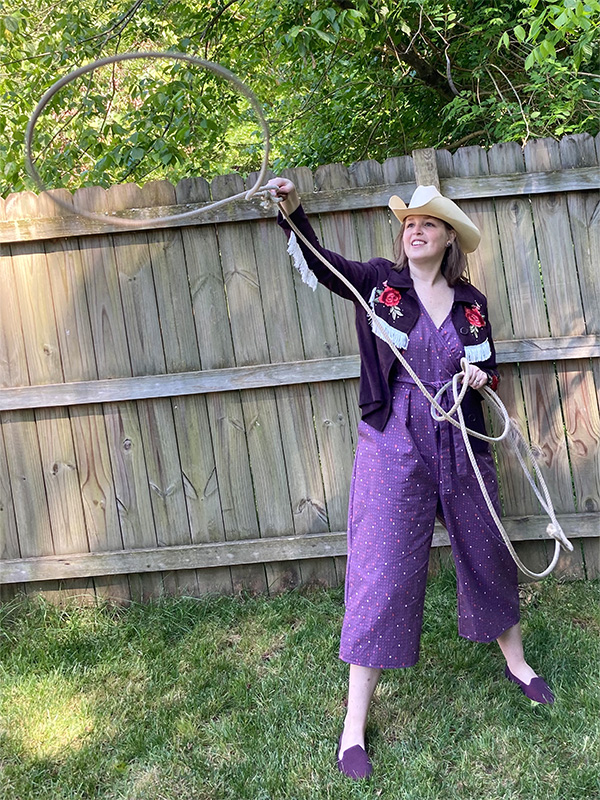
It sure is! We have beginner-friendly sewing projects including clothing like this Chiffon robe jacket.Are there other ways to make my own clothes besides using patterns?
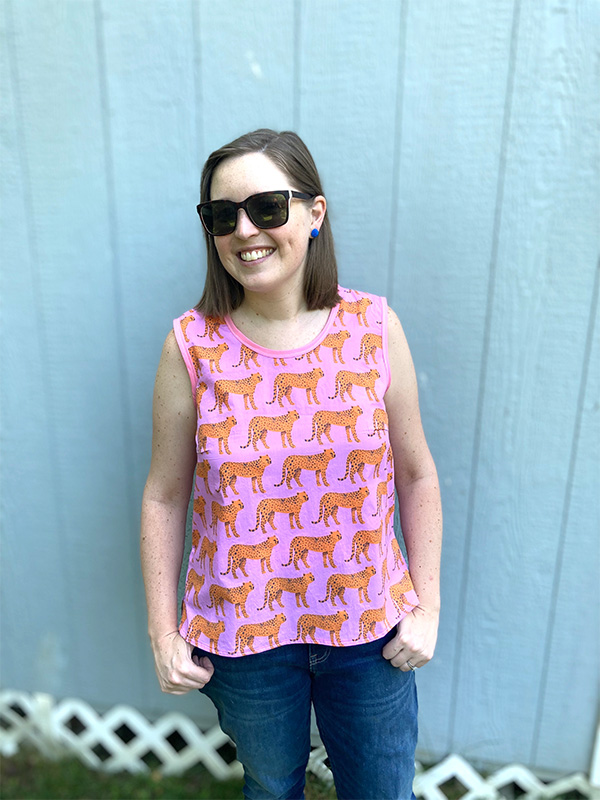
You can make your own clothes by self-drafting patterns. Learn how to sew a t-shirt by self-drafting — or tracing the pattern from something you own — to create something new!Featured Designs
Geometric Party Blocks
Art Deco Puzzle on Navy
by janetdrummondPink Cheetah
by tinkillustrationReady to find your next clothing project?
Explore other clothing and DIY projects so you can keep working on those sewing skills. Check out some of the pieces we’ve made, find your favorite Spoonflower design and get started.Made to order using unique designs from artists worldwide.
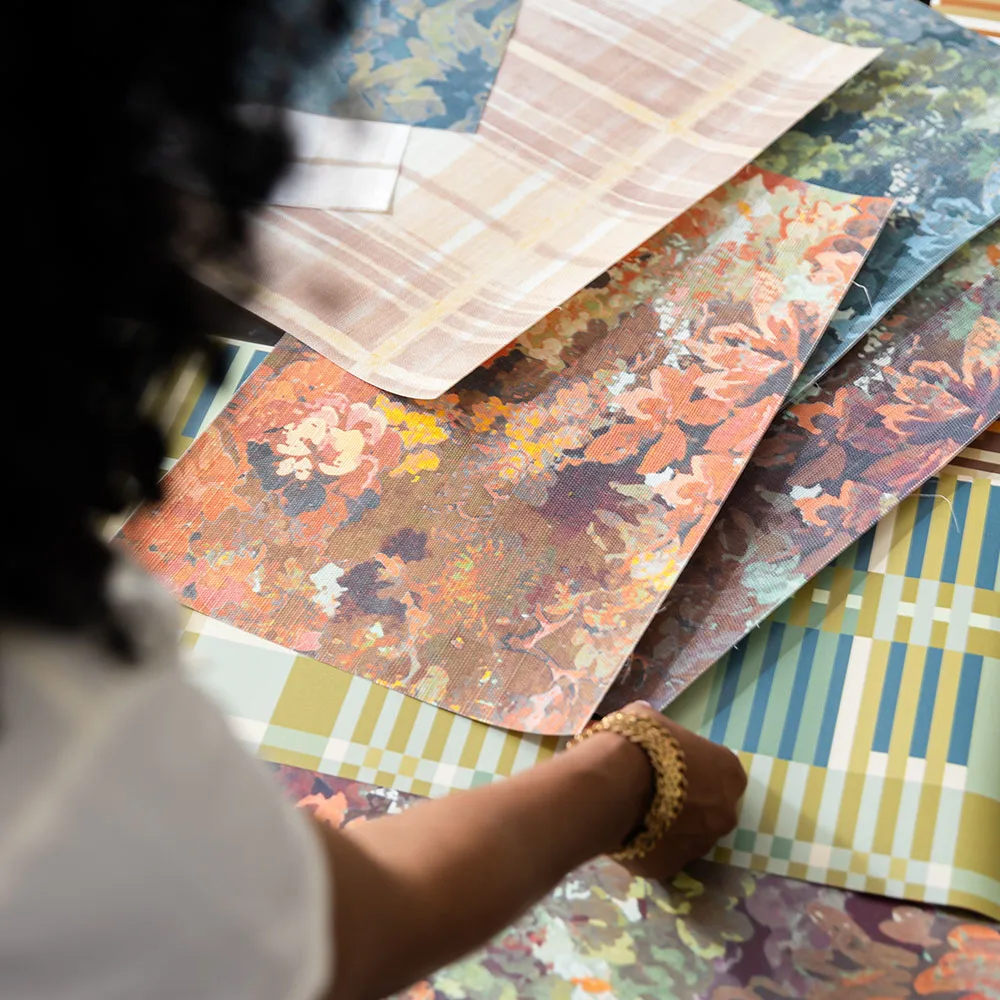
The World’s Largest Design Library for Wallpaper and Textiles
Discover a world of design—from minimalist to maximalist. Thousands of global artists, with new styles added constantly.
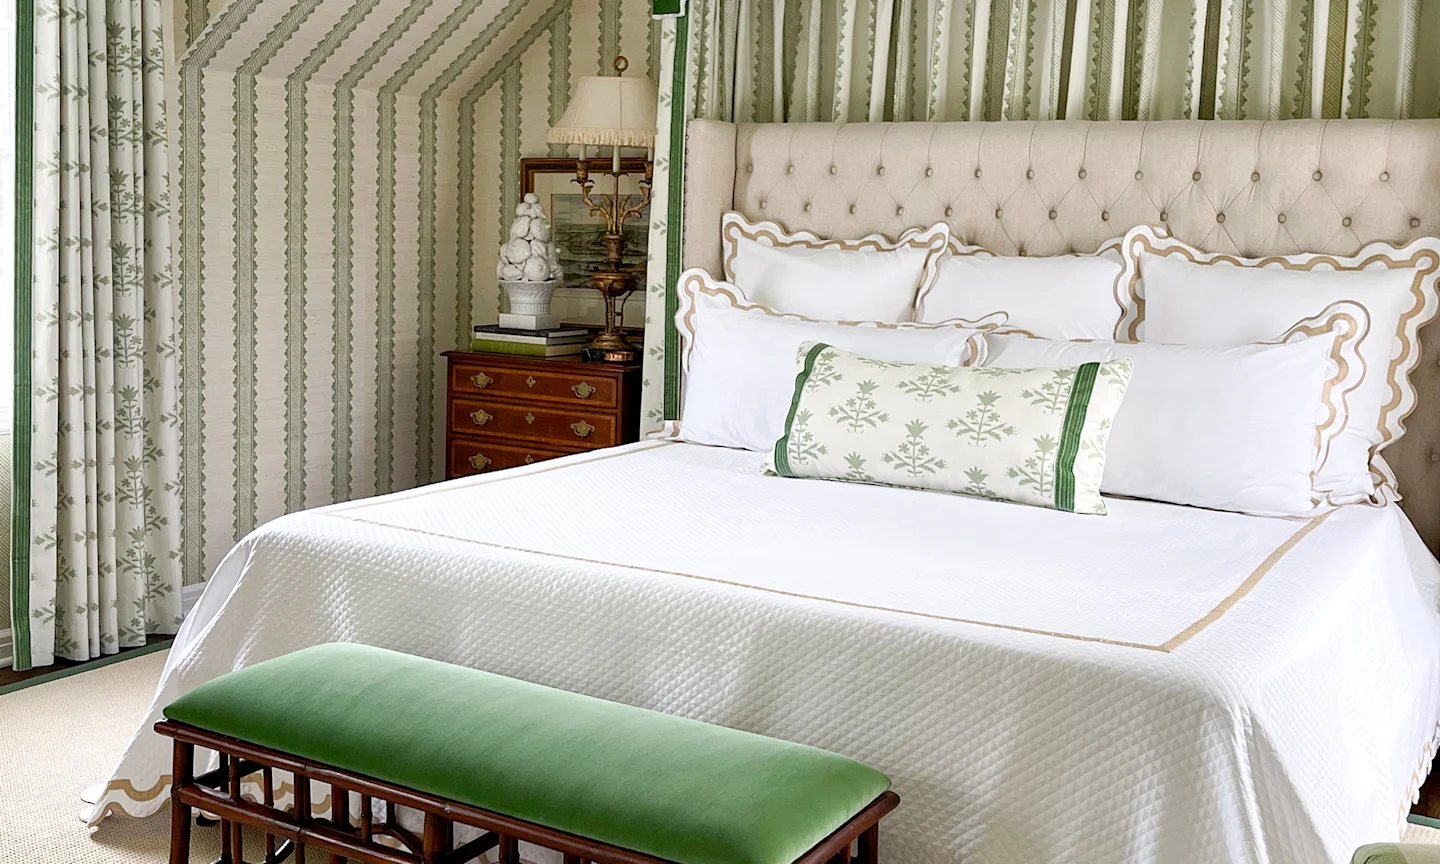
Custom Designs on Any Item
Our made-to-order model lets you print any design on any material. Coordinate patterns across rooms for a cohesive, personalized home.
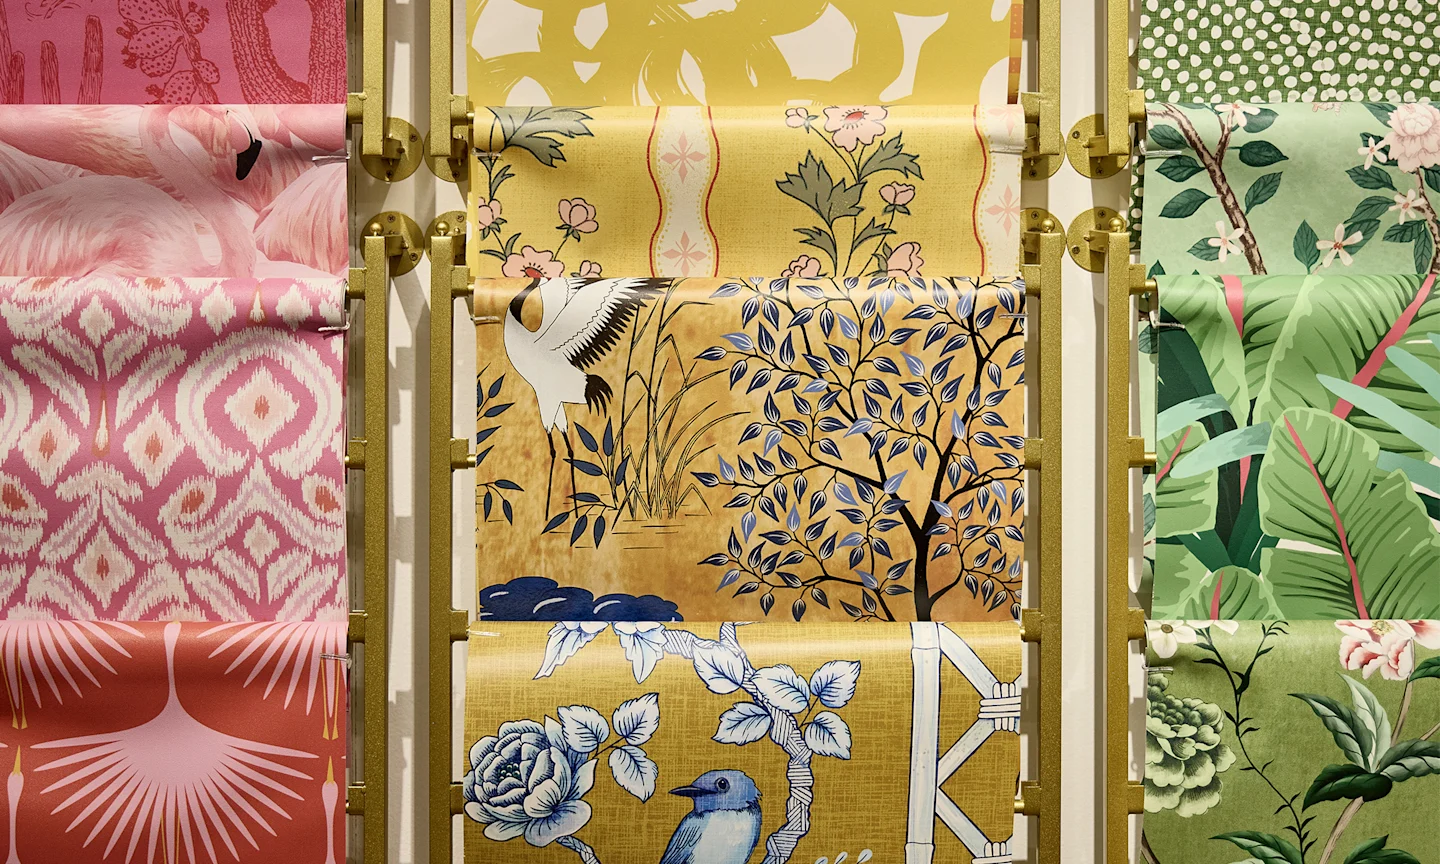
Premium Materials, Always in Stock
Trusted by pros and enthusiasts, our responsibly sourced textiles and papers offer the perfect finish—from smooth to textured, delicate to durable.
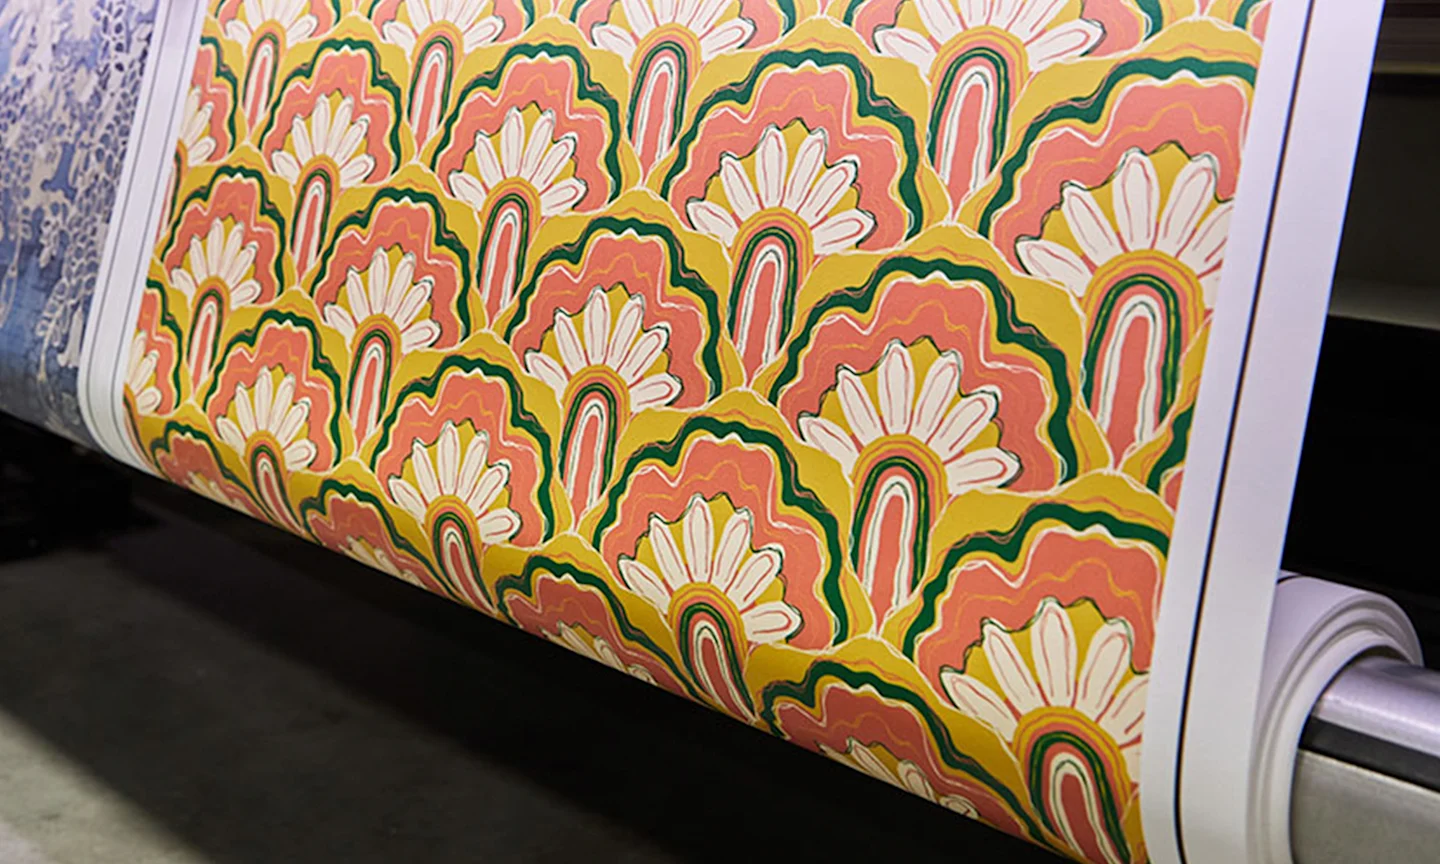
Printed on Demand in the USA
Our print-on-demand model lets you choose your design, material, and quantity—minimizing waste with non-toxic inks and reduced packaging.