
Make An Easy Custom Bow Tie in Under 10 Steps
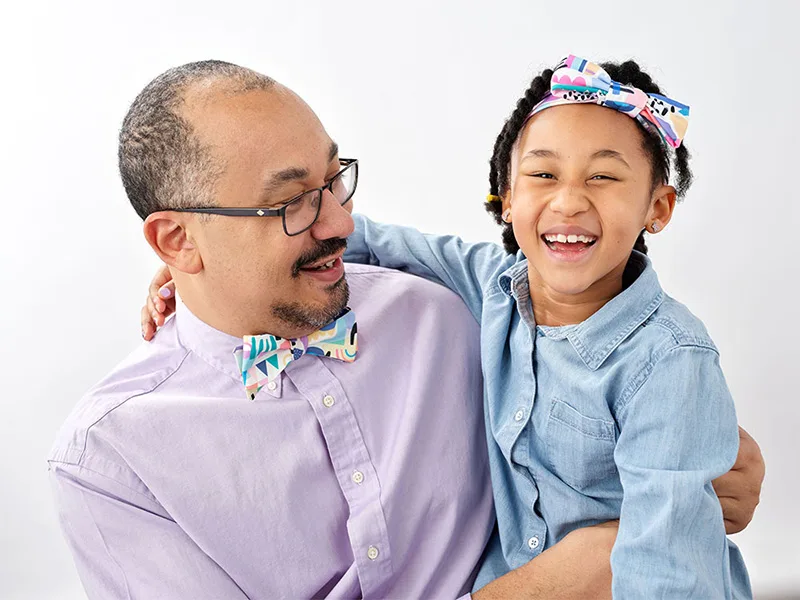
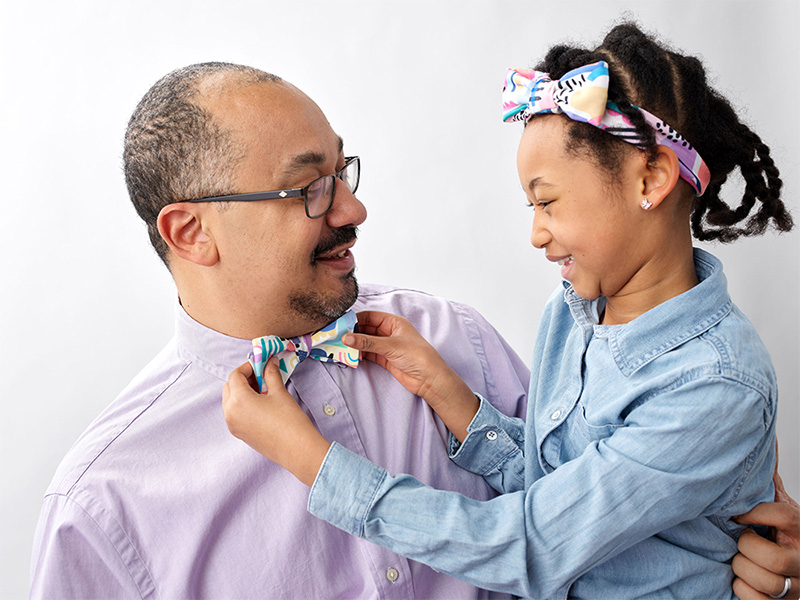
*Updated October 2025 *While tying a bow tie might be tricky, this DIY bow tie tutorial sure isn’t! Whether you’re getting ready for your next big event or just want to help Dad look dapper this Father’s Day, a handmade bow tie using a fat quarter of Organic Cotton Sateen is just the answer. When you pair the bow tie with a matching top knot headband for your mini-me, you can’t go wrong! *
No time to DIY?
*Be sure to check out Small Business Grant recipient Nicole Brown’s bow tie business over at *How to make a bow tie
Materials Needed
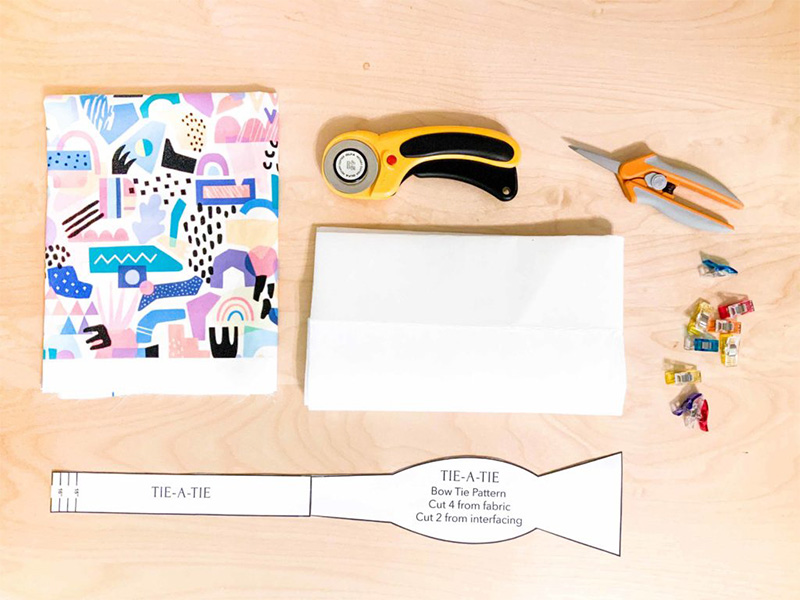
- 1 fat quarter of Organic Cotton Sateen — we’re using this 80s Inspired Geometric Pattern design by kennasatodesigns
- Sewing machine
- Sewing pins or clips
- Rotary blade or fabric scissors
- Iron and ironing board
- Point turner or chopstick
- Bow tie template from Tie-a-Tie
Step 1. Measure the wearer’s neck
First, measure the wearer’s neck to create the proper fit for the bow tie. If this is a gift, you can also measure a dress shirt collar to get an idea of the size.How to measure a neck
Wrap a measuring tape around the neck, about an inch above the shoulders or just underneath the Adam’s apple. Hold the measuring tape taut and level. Record this number and then add 0.5″ to it to determine your bow tie size. Average bow tie sizes range from 15-18″, and patterns can be adjusted accordingly.Step 2. Print and prepare your template
Once you have the bow tie size, print and cut out the bow tie template. Tape the two pieces together at the neck size you need.Making multiple bow ties?
Step 3. Cut out the fabric and interfacing of your pattern pieces
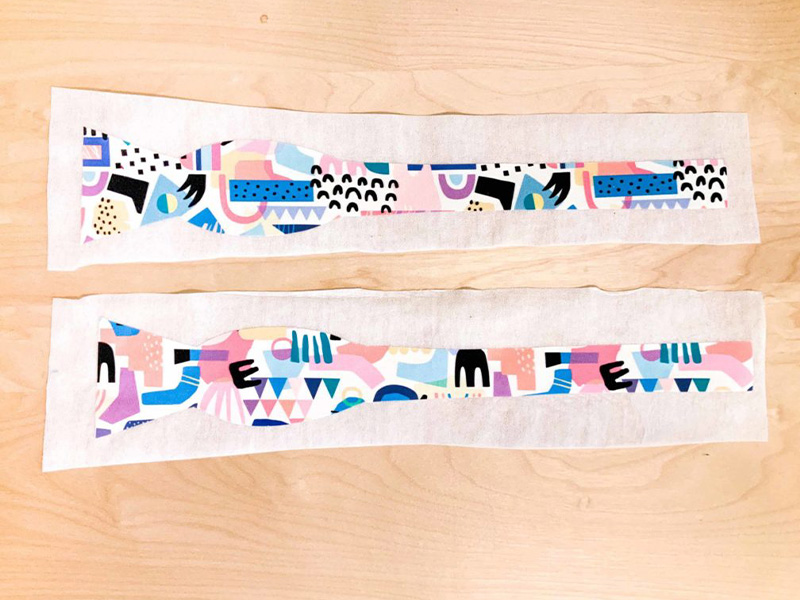
Cut out four bow tie pieces from your fabric and two from your interfacing. Following the manufacturer’s instructions, iron the interfacing onto the wrong side of two of your fabric bow tie pieces.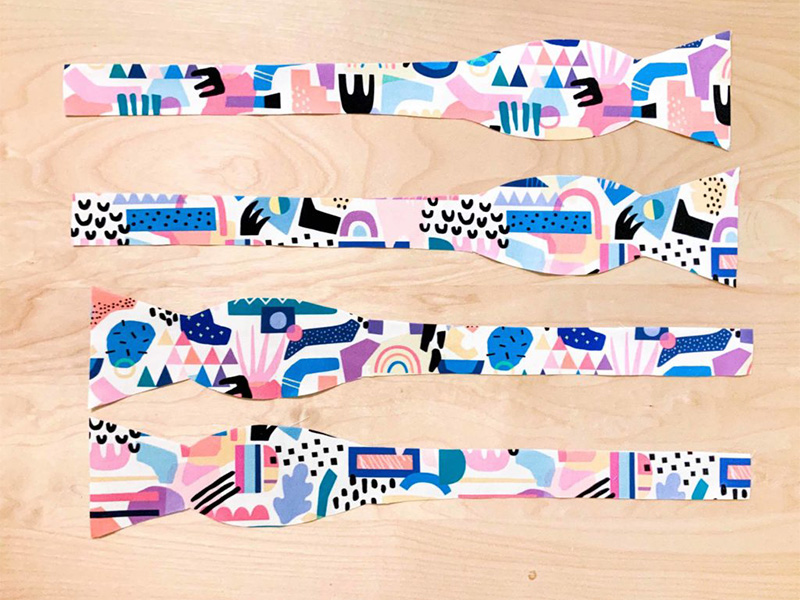
Step 4. Sew the bow tie ends together
Pin the two non-interfaced bow tie pieces right sides together and sew the short ends with a 1/4″ seam allowance. Repeat for the remaining two bow tie pieces. Press the seams open.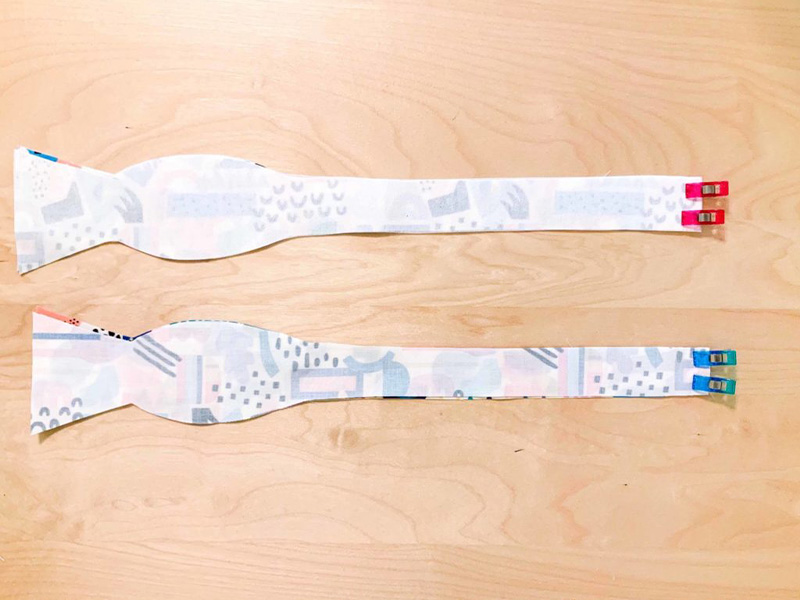
Step 5. Sew the bow tie pieces together
Pin the two bow tie pieces right sides together and sew together with a 1/4” seam allowance. Be sure to leave a 2” opening near the middle of the neckband. Cut small notches in the seam allowance on the curves of the tie and trim your corners, being careful not to cut into your stitches.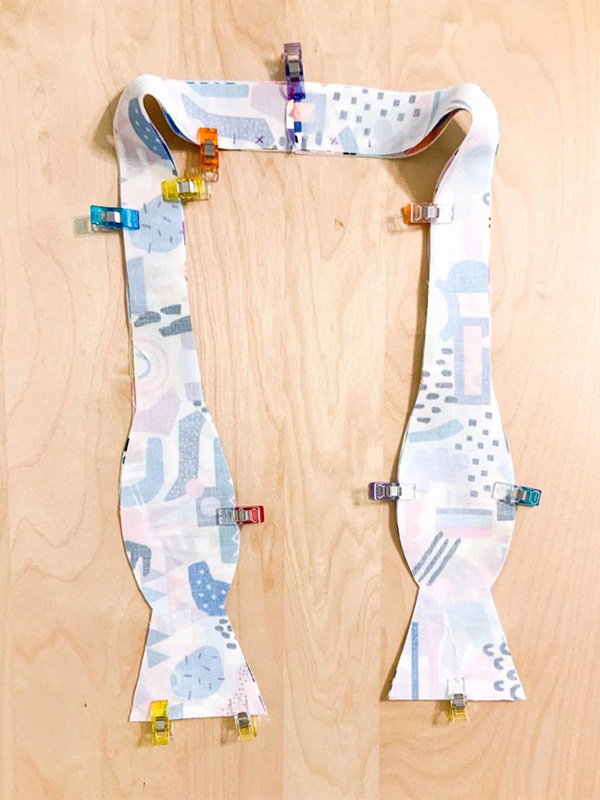
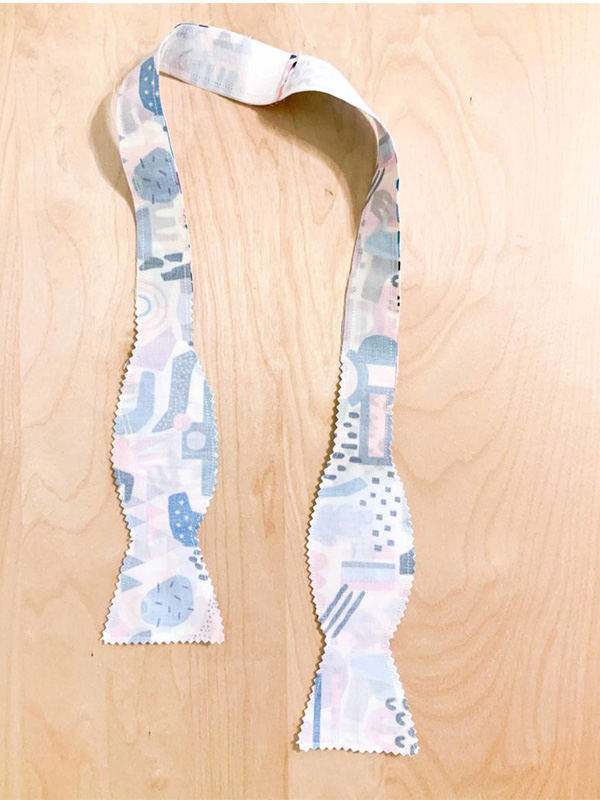
Step 6. Turn your bow tie right side out
Using your point turner, chopstick or other handy dandy turning tool, turn your fabric right side out. This part can be tricky, so be patient and work slowly!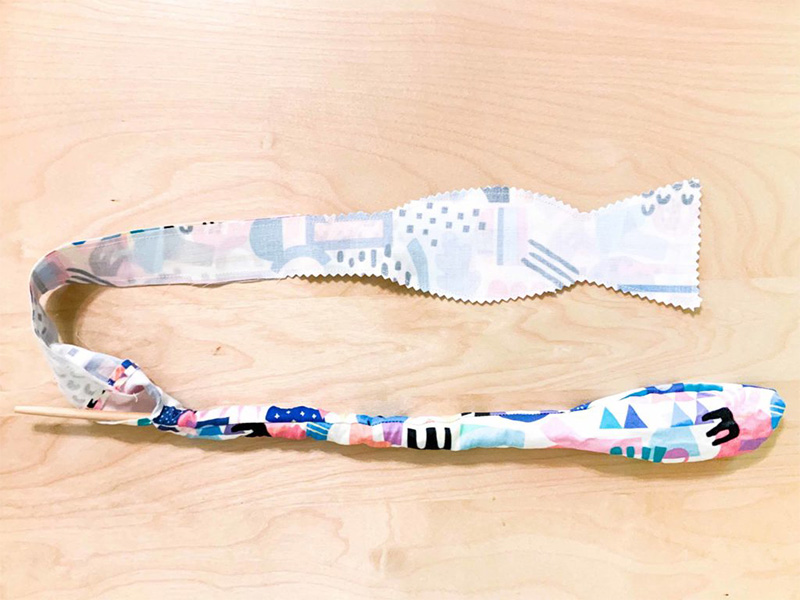
Step 7. Press your bow tie
Now that you’ve turned your bow tie right side out (how is turning a bow tie not an Olympic sport?), press your bow tie so all of your seams are flat. At the 2” opening, fold in the raw edges and press. Use a slipstitch or topstitch on your sewing machine to secure the opening.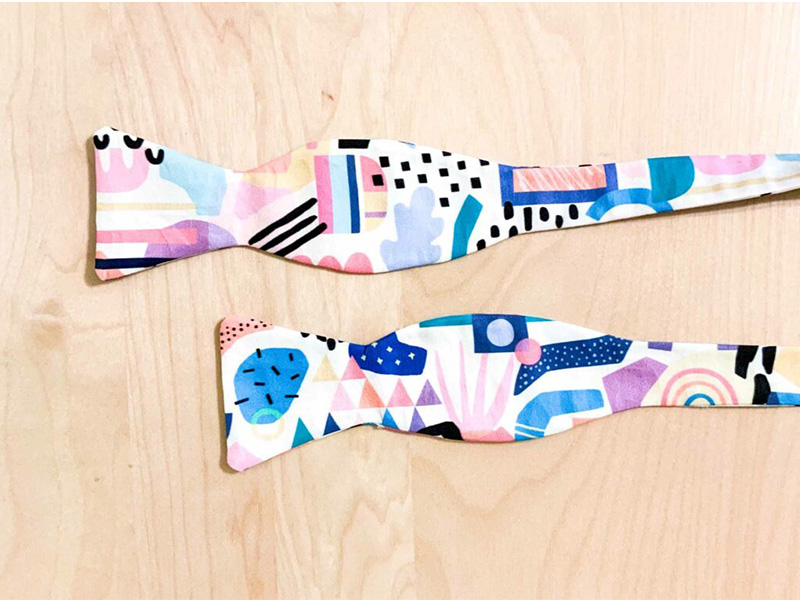
Frequently Asked Questions
What is the sewing experience required to make a bow tie?
Our DIY bow tie tutorial is beginner-friendly for new sewists.How do you make a bow tie?
Follow these simple steps, and you’ll have a custom bow tie in no time!How do you measure a person’s neck to make a bow tie?
Wrap a measuring tape around the neck, about an inch above the shoulders or just underneath the Adam’s apple. Hold the measuring tape taut and level. Record this number and then add 0.5″ to it to determine your bow tie size. Average bow tie sizes range from 15-18″, and patterns can be adjusted accordingly.Looking for more Dad DIYs?
Made to order using unique designs from artists worldwide.
The World’s Largest Design Library for Wallpaper and Textiles
Discover a world of design—from minimalist to maximalist. Thousands of global artists, with new styles added constantly.

Custom Designs on Any Item
Our made-to-order model lets you print any design on any material. Coordinate patterns across rooms for a cohesive, personalized home.
Premium Materials, Always in Stock
Trusted by pros and enthusiasts, our responsibly sourced textiles and papers offer the perfect finish—from smooth to textured, delicate to durable.
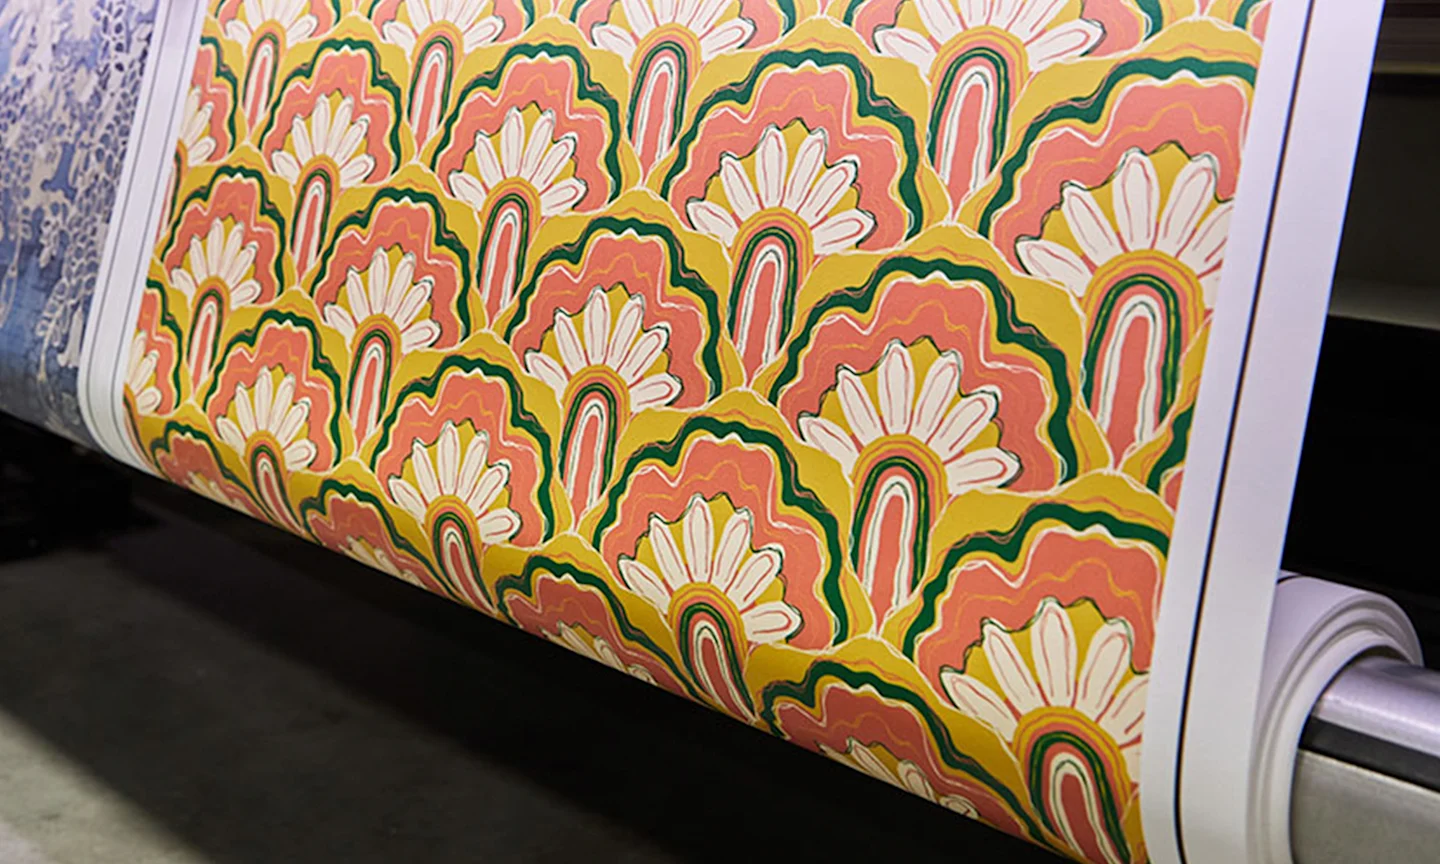
Printed on Demand in the USA
Our print-on-demand model lets you choose your design, material, and quantity—minimizing waste with non-toxic inks and reduced packaging.