
Kid-Friendly Project: How To Make A Fabric Garland
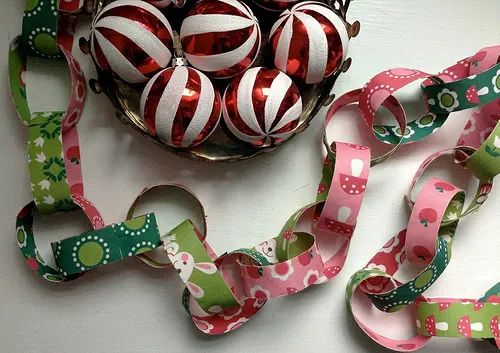
*Updated September 2025 If you’re looking for a visual way to show your kids how many days left until Christmas, a fabric chain garland is a great option. It’s fast, kid-friendly, no-sew and uses up any stray 8″ test swatches you might have lying around. Ready to learn how to make a fabric garland and get started on this down-to-the-wire Christmas decoration project? Let’s do it!

Materials Needed
- An even number of 8″ fabric swatches on Petal Signature Cotton® (explore Christmas designs here or scroll to the bottom for more holiday designs) For this tutorial, I used 10 swatches of Bora‘s “The Bunny Band” collection printed onto basic combed cotton, which produced a 7-1/2′ long chain.
- Double-sided lightweight fusible web (I used Lite Steam-a-Seam 2.)
- As many binder clips, clothespins or Clover wonder clips as you can find
- Fabric glue
- Scissors
- Rotary cutter, cutting mat and clear acrylic ruler (or just use your scissors and a ruler)
Step 1. Trim off the unprinted white areas of the 8″ swatches and press them
The links of this fabric chain will have printed fabric on both sides so decide now how you’ll pair the prints up. We paired different colors together so there would be some contrast between inside and outside fabrics, but you could certainly opt to pair them in a more matchy way.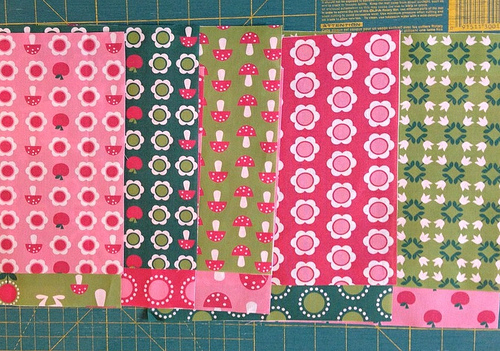
Step 2. Unroll the double-sided fusible web and peel back the first layer of paper backing
There should be two paper backing layers. Tile the five 8″ swatches you want to use as side one of the chain tops side by side in a row and print side up, with no space left between them.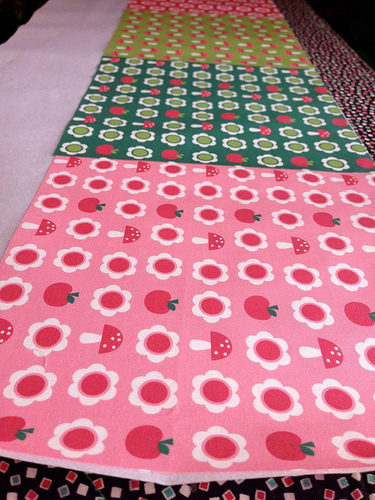
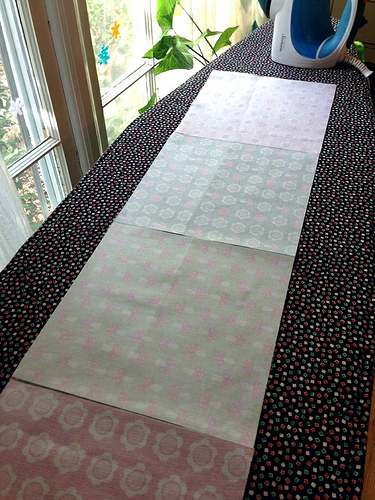
Step 3. Tile the second set of five swatches on top of the first set with wrong sides together, aligning all edges
Press again to adhere the fusible web to the back of the second set of swatches and to fuse the two sets of swatches together. Here’s where a press cloth may come in handy since you may have stray smidges of fusible web sticking out here and there that will gunk up your iron if it makes contact. Once this second row is fused to the first, you can separate the five sets of swatches from each other. Just gently pull them apart; no need to cut yet. You’ll have five 8″ squares with print on both sides.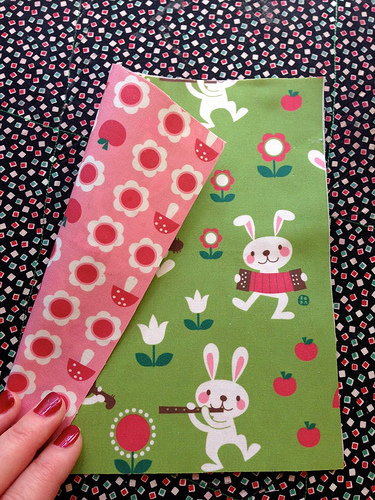

Step 4. Cut each 8″ square into eight 1″ strips
The fastest way to do this is with an acryclic ruler and rotary cutter, and you can stack them into sets of two to go even faster. You’ll end up with a pile of 40 double-sided fabric strips.
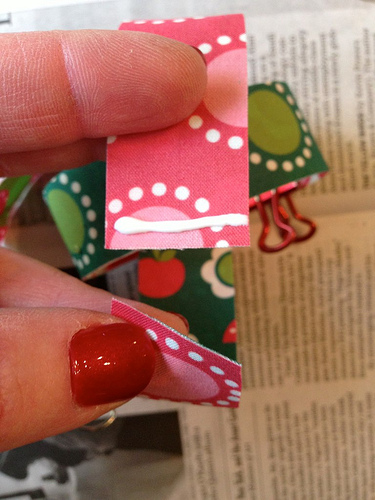

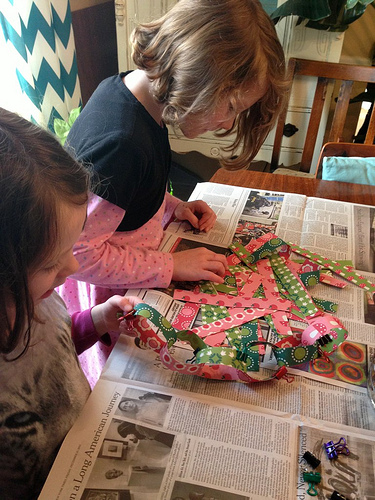

Step 6. When everything is dry, remove all the clips and hang the chain
Admire your handiwork — this year and in all the years to come!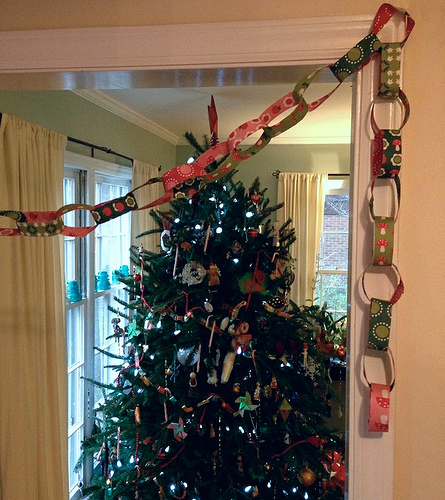
Made to order using unique designs from artists worldwide.
The World’s Largest Design Library for Wallpaper and Textiles
Discover a world of design—from minimalist to maximalist. Thousands of global artists, with new styles added constantly.

Custom Designs on Any Item
Our made-to-order model lets you print any design on any material. Coordinate patterns across rooms for a cohesive, personalized home.

Premium Materials, Always in Stock
Trusted by pros and enthusiasts, our responsibly sourced textiles and papers offer the perfect finish—from smooth to textured, delicate to durable.
Printed on Demand in the USA
Our print-on-demand model lets you choose your design, material, and quantity—minimizing waste with non-toxic inks and reduced packaging.