
DIY Reversible Bucket Hat Tutorial + Free Pattern
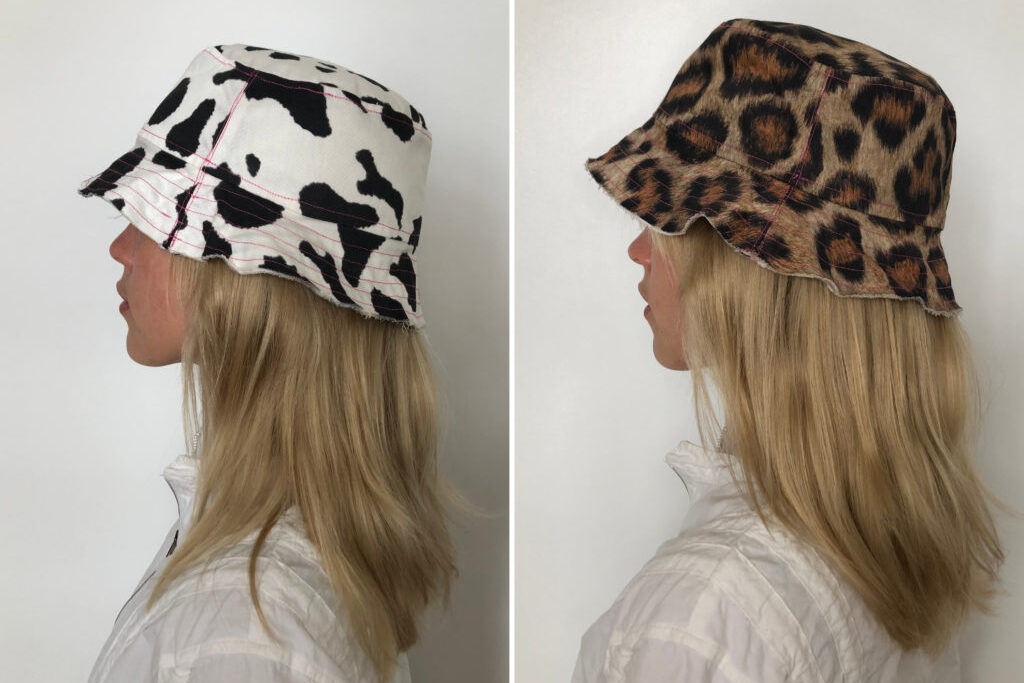
If you’re looking for a summer accessory that’s both stylish and provides shade from harsh summer rays, we’ve got you covered with DIY reversible bucket hat tutorial! To make it reversible, use 2 fat quarters of coordinating fabric designs or 2 designs on a split Fill-A-Yard. By selecting different designs for each side, you can easily switch sides for different moods. Follow along and download our free bucket hat sewing pattern to learn how you can make a your own with our Lightweight Cotton Twill.
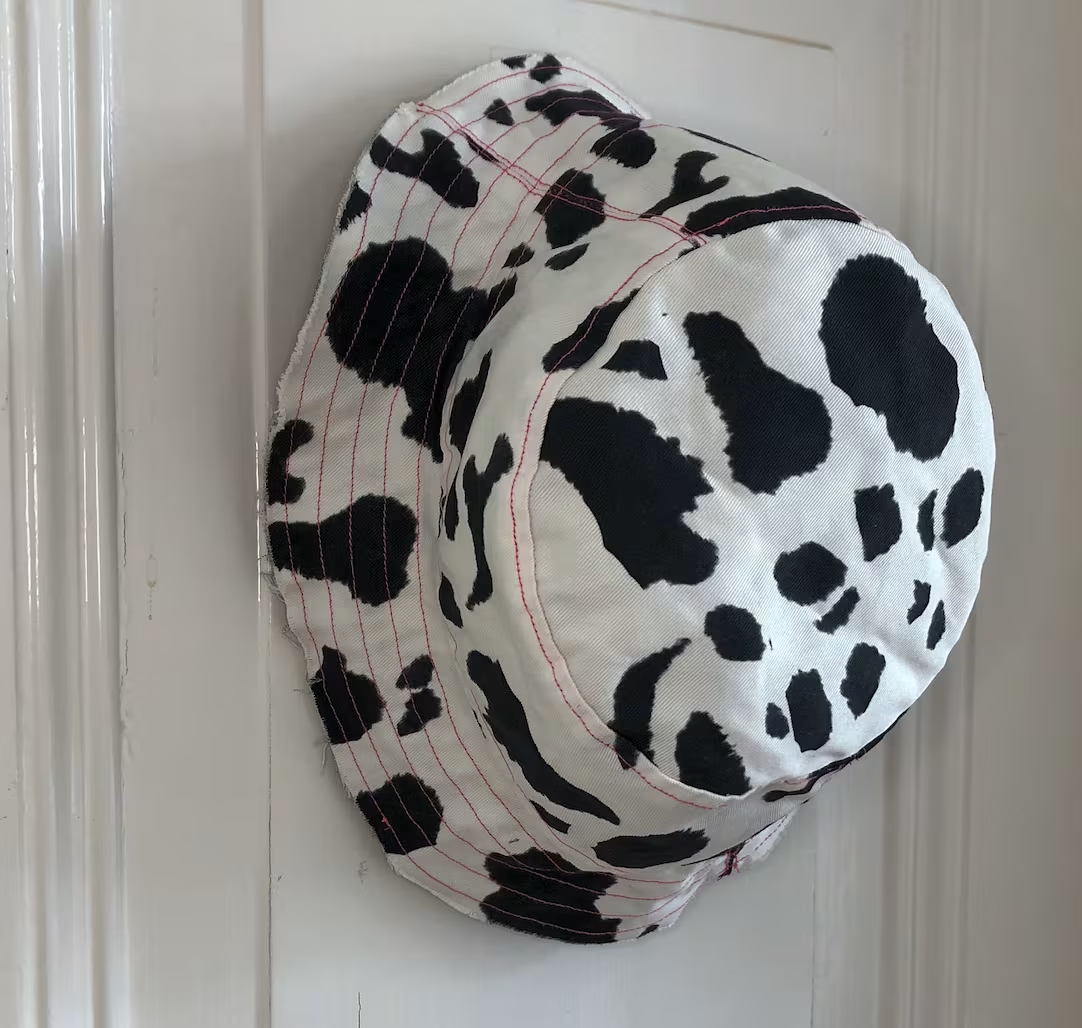
Materials to Sew a Reversible Bucket Hat
Skill Level: Beginner- Free Bucket Hat pattern
- 2 fat quarters of Lightweight Cotton Twill
- Sewing machine
- Scissors or rotary cutter
- Thread
- Iron
- Optional: Bias tape for the brim’s edges
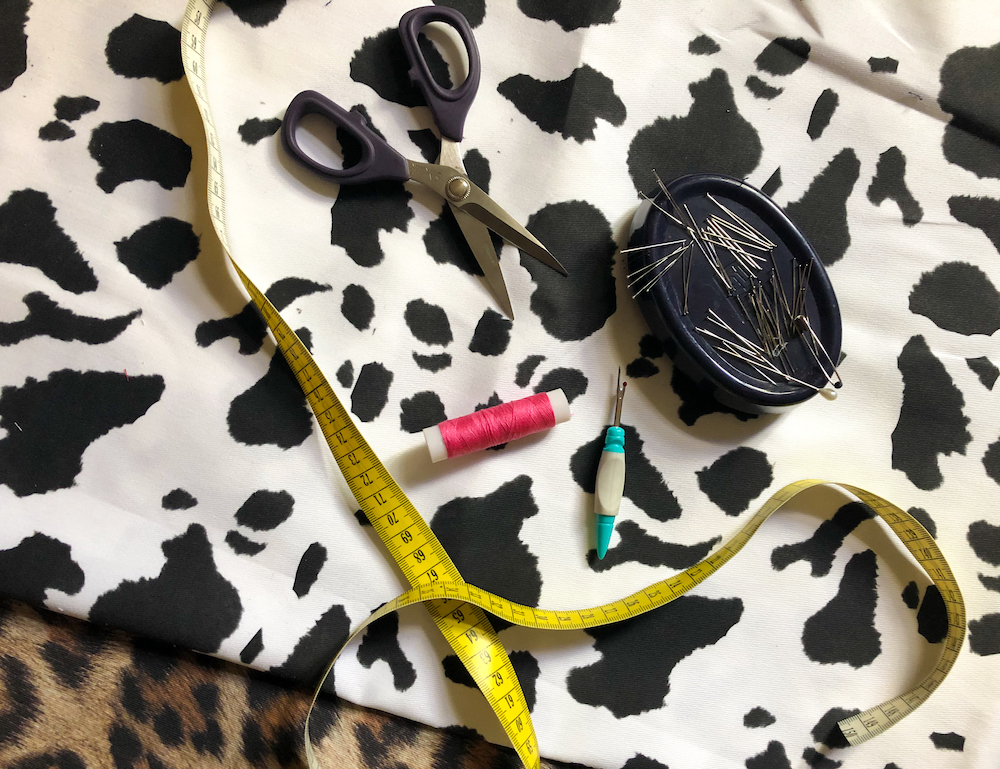
Fabric for Sewing a Bucket Hat
While we’re using Lightweight Cotton Twill for our hat, you can also create a fuzzy and durable winter bucket hat with our sturdy Dogwood Denim™ and backed with our soft and fuzzy Minky for an added layer of insulation. A fat quarter of Spoonflower’s Lightweight Cotton Twill is a bit wider than the traditional fat quarter, measuring 29″ wide rather than 21″. Take this into consideration when deciding how much fabric you need, as only two regular-width fat quarters may not be enough for this project. All of our fabric types can be found here with measurements and other details.Bucket Hat Sewing Terminology
Brim: The projecting edge at the bottom Crown: The sides, right above the brim Top: The part that touches the very top of your headDIY Bucket Hat Tutorial
Step 1: Cut out the pattern
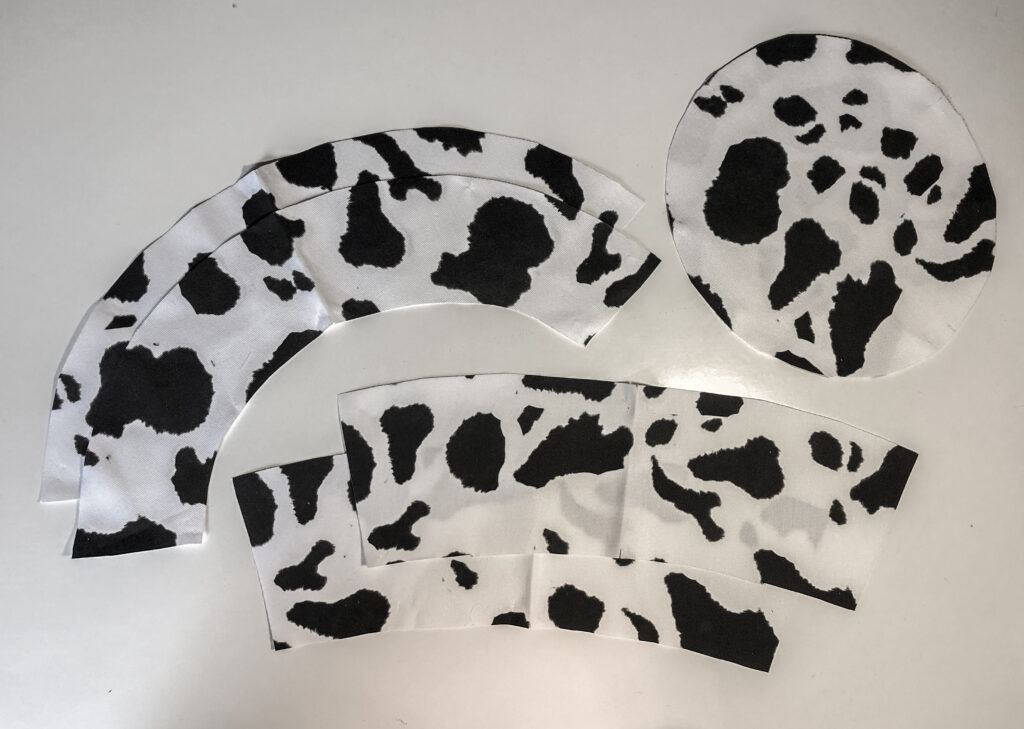
Step 2: Pin the crown

Step 3: Finish the seam

Step 4: Attach the top
Now you can attach the top piece to the crown piece with right sides facing each other. This process can be a bit tricky as we’re working with a round seam, but just pull the fabric tight as you go and use as many pins as you need.
Step 5: Topstitch the edge
Next, sew a line on top of the hat about 1/4″ (1/2 cm) down from the edge of the top part’s seam. Just like in step 3, this helps both reinforce and decorate your seam.
Step 6: Make the brim
Similar to how we put together the crown, pin your brim parts with right sides facing at the short ends and stitch them together with a 1/2″ (1 cm) seam allowance. Iron the seam apart and reinforce/decorate with a topstitch on the outside.
Step 7: Attach the brim
Place the brim on the crown, right sides together. Similar to step 4, pin around the edges making sure the fabric is evenly secured, and sew in place. Once again, iron your seam flat and topstitch on the outside. Now you have one side of your bucket hat!

Step 8: Sew the two sides together
Once you have your two hats, pin them together by the raw brim edges, this time with the wrong sides (non-design side) facing instead of the right sides.

Made to order using unique designs from artists worldwide.
The World’s Largest Design Library for Wallpaper and Textiles
Discover a world of design—from minimalist to maximalist. Thousands of global artists, with new styles added constantly.

Custom Designs on Any Item
Our made-to-order model lets you print any design on any material. Coordinate patterns across rooms for a cohesive, personalized home.

Premium Materials, Always in Stock
Trusted by pros and enthusiasts, our responsibly sourced textiles and papers offer the perfect finish—from smooth to textured, delicate to durable.
Printed on Demand in the USA
Our print-on-demand model lets you choose your design, material, and quantity—minimizing waste with non-toxic inks and reduced packaging.